

Sayu

TIER SS Exploration
TIER S Exploration
TIER A Exploration
TIER B Exploration
TIER C Exploration
Ascension requirements
-
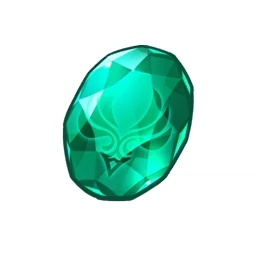
Vayuda Turquoise Gemstone
-
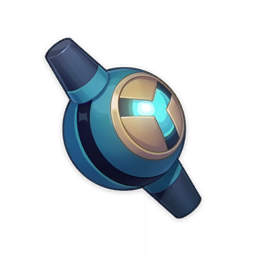
Marionette Core
-

Crystal Marrow
-
Energy Nectar
-
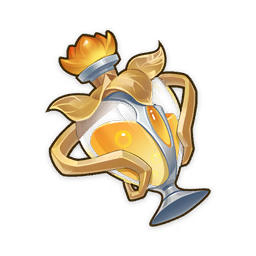
Philosophies of Light
-

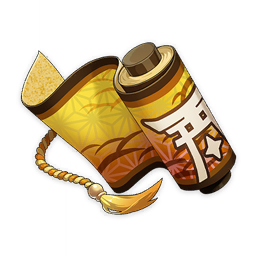
Gilded Scale
Weapons:
-
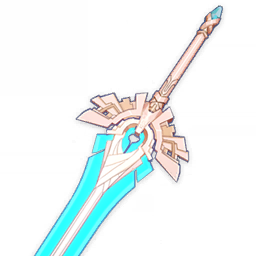
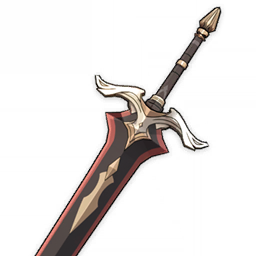
Sacrificial Greatsword
-
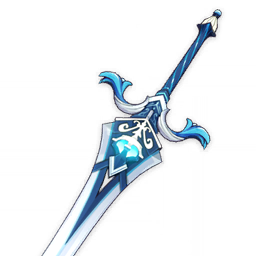
Skyward Pride
-
Rainslasher
-
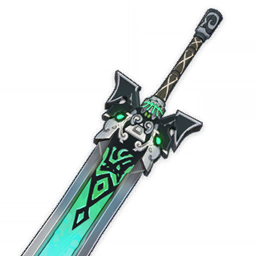
Katsuragikiri Nagamasa
-
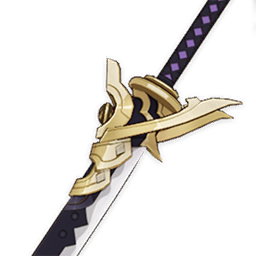
Bloodtainted Greatsword
Best option ←
to
→ Worst option
Artifacts Swirls and Heals!:
-
ATK
-

HP
-

Elemental Mastery
-
Elemental Mastery
-
Elemental Mastery
Elemental Mastery / Attack / Energy Recharge / HP
Artifacts no VV no problem:
-
ATK
-
HP
-

ATK%
-
ATK%
-
Healing Bonus%
ATK/ Energy Recharge/ Elemental Mastery / DEF
►Statistics
Rating:
Stats:
Attribute base 20* 40* 50* 60* 70* 80* 90 MAX HP 994 3296 5464 6988 8337 9684 11033 11854 ATK 20 68 113 144 172 200 227 244 DEF 62 207 343 439 524 608 693 745 Elemental Mastery 0 0 24 48 48 72 96 96
►Suggested Teammates
-
Sayu works perfectly with elemental sub DPS characters, her extremely good mobility allows her to make the best use of "tornado" like bursts, while improving her own damage through continuous swirls
-
Sayu is great at making use of Kaeya's burst, with her mobility she can snipe off weakened characters to extend its duration
-
Albedos EM boosting capabilities and strong sub DPS capabilities make him a great non elemental partner to Sayu
-
Sayu can become a wrecking ball if you infuse her with Pyro and combine her with Lisa. After this is just a matter of choosing which enemy will be obliterated by multiple overloads
-
Bennett is a surefire way of getting a Pyro infusion and a good chunk of attack.
-
Barbara guarantees Sayu will get an Hydro infusion on her skill which can be combined with someone like Ganyu or Kaeya for permafreeze shenanigans.


►Summary
Pros:
- Anemo character with fast movement speed, great for exploration!.
- A healer with a lot of damage thanks to Swirl and scaling with Elemental Mastery.
Cons:
- Not the best at anything, besides moving fast in the overworld.
Building tips:
- Sayu is a healing support and anemo DPS, like every Anemo character she can make great use of the Viridescent Venerer x4 artifact set, she can also make use of the
 Maiden Beloved x4 or x2 artifact set if you wish to focus more on her healing capabilities.
 - Sayu as a DPS healer wants many stats which can be hard to come by at the same time in her sets, she wants ATK, Crit, Elemental Mastery, and Energy Recharge. Most builds focus on one aspect or another, some builds focus on ATK and Crit stats, and others focus on Elemental Mastery and Energy Recharge to ease the burden of farming her artifacts.
- Sayu can use any Claymore than posses the stats she wants as substats, prioritizing whatever build the player is trying to accomplish. This means any, ATK, Crit, Energy Recharge, or Elemental Mastery substat Claymore. Of special note is the Sacrificial Greatsword which allows Sayu two uses of her elemental skill which will let her deal great AoE damage as well as Healing her Party, also the Elemental Mastery build can work pretty well with the 3-star weapon the Bloodtainted Greatsword.
Gameplay tips:
- Sayu is an excellent burst carrier for characters that don't need to basic attack like Kaeya and Xiangling, thanks to her high movement speed, high Poise, and constant swirls while in her ball state.
- Sayu can absorb any element currently on her to infuse her elemental skill, you can take advantage of this fact by self-applying Hydro with Barbara or Pyro with Bennett for example, this way you'll have Sayu attack with whichever element you require for the situation.
- Sayu can heal your teammates and deal high amounts of damage focusing on Elemental Mastery thanks to her passive Someone More Capable.
- Your summon Muji-Muji Daruma can be repositioned by directly dragging him around or with Anemo skills (not Venti) that can drag things around.
constellations power:
- Occasionally good to keep the swirls going.
- Buff to ATK / Crit stacking Sayu, not her most used build.
- Levels to her burst, if you are using Elemental Mastery this won't do much.
- A decent buff to Sayu's energy generation, how good this is will depend on how much field time she has.
- More levels for our skill, which has poor ratios.
- This consolidates Sayu's Elemental Mastery build as the best, or just improves the power of mixed builds a good constellation to solidify Sayu's healing power.
►Constellations.
-

C1
Multi-Task no Jutsu
The Muji-Muji Daruma created by Yoohoo Art: Mujina Flurry will ignore HP limits and can simultaneously attack nearby opponents and heal characters. -

C2
Egress Prep
Yoohoo Art: Fuuin Dash gains the following effects: • DMG of Fuufuu Whirlwind Kick in Press Mode increased by 3.3%. • Every 0.5s in the Fuufuu Windwheel state will increase the DMG of this Fuufuu Whirlwind Kick by 3.3%. The maximum DMG increase possible through this method is 66%. -

C3
Eh, the Bunshin Can Handle It
Increases the Level of Yoohoo Art: Mujina Flurry by 3. Maximum upgrade level is 15. -

C4
Skiving: New and Improved
Sayu recovers 1.2 Energy when she triggers a Swirl reaction. This effect occurs once every 2s. -

C5
Speed Comes First
Increases the Level of Yoohoo Art: Fuuin Dash by 3. Maximum upgrade level is 15. -

C6
Sleep O'Clock
The Muji-Muji Daruma created by Sayu's Yoohoo Art: Mujina Flurry will now also benefit from her Elemental Mastery. Each point of Sayu's Elemental Mastery will produce the following effects: • Increases the damage dealt by the Muji-Muji Daruma's attacks by 0.2% ATK. A maximum of 400% ATK can be gained via this method. • Increases the HP restored by the Muji-Muji Daruma by 3. A maximum of 6,000 additional HP can be restored in this manner.
► Talents

Passive Talent 1
Yoohoo Art: Silencer's Secret

Passive Talent 2
Someone More Capable

Passive Talent 3
No Work Today!

Basic attack
Normal Attack: Shuumatsuban Ninja Blade
Charged Attack: Drains Stamina over time to perform continuous spinning attacks against all nearby opponents. At the end of the sequence, perform a more powerful slash.
Plunging Attack: Plunges from mid-air to strike the ground below, damaging opponents along the path and dealing AoE DMG upon impact.
| Ability | LVL1 | LVL2 | LVL3 | LVL4 | LVL5 | LVL6 | LVL7 | LVL8 | LVL9 | LVL10 | LVL11 |
|---|---|---|---|---|---|---|---|---|---|---|---|
| 1-Hit DMG | 72.24% | 78.12% | 84% | 92.4% | 98.28% | 105% | 114.24% | 123.48% | 132.72% | 142.8% | 154.35% |
| 2-Hit DMG | 71.38% | 77.19% | 83% | 91.3% | 97.11% | 103.75% | 112.88% | 122.01% | 131.14% | 141.1% | 152.51% |
| 3-Hit DMG | 43.43% + 43.43% | 46.97% + 46.97% | 50.5% + 50.5% | 55.55% + 55.55% | 59.09% + 59.09% | 63.13% + 63.13% | 68.68% + 68.68% | 74.23% + 74.23% | 79.79% + 79.79% | 85.85% + 85.85% | 92.79% + 92.79% |
| 4-Hit DMG | 98.13% | 106.11% | 114.1% | 125.51% | 133.5% | 142.63% | 155.18% | 167.73% | 180.28% | 193.97% | 209.66% |
| Charged Attack Spinning DMG | 62.55% | 67.64% | 72.73% | 80% | 85.09% | 90.91% | 98.91% | 106.91% | 114.91% | 123.64% | 133.64% |
| Charged Attack Final DMG | 113.09% | 122.3% | 131.5% | 144.65% | 153.86% | 164.38% | 178.84% | 193.31% | 207.77% | 223.55% | 241.63% |
| Charged Attack Stamina Cost | 40/s | 40/s | 40/s | 40/s | 40/s | 40/s | 40/s | 40/s | 40/s | 40/s | 40/s |
| Max Duration | 5s | 5s | 5s | 5s | 5s | 5s | 5s | 5s | 5s | 5s | 5s |
| Plunge DMG | 74.59% | 80.66% | 86.73% | 95.4% | 101.47% | 108.41% | 117.95% | 127.49% | 137.03% | 147.44% | 157.85% |
| Low/High Plunge DMG | 149.14% / 186.29% | 161.28% / 201.45% | 173.42% / 216.62% | 190.77% / 238.28% | 202.91% / 253.44% | 216.78% / 270.77% | 235.86% / 294.6% | 254.93% / 318.42% | 274.01% / 342.25% | 294.82% / 368.25% | 315.63% / 394.24% |

Elemental skill
Yoohoo Art: Fuuin Dash
Sayu curls up into a rolling Fuufuu Windwheel and smashes into opponents at high speed, dealing Anemo DMG.
When the duration ends, she unleashes a Fuufuu Whirlwind Kick, dealing AoE Anemo DMG.
Press: Enters the Fuufuu Windwheel state, rolling forward a short distance before using the Fuufuu Whirlwind Kick.
Hold: Rolls about continuously in the Fuufuu Windwheel state, increasing Sayu's resistance to interruption while within that state.
During this time, Sayu can control the direction of her roll, and can use the skill again to end her Windwheel state early and unleash a stronger version of the Fuufuu Whirlwind Kick.
The Hold version of this skill can trigger Elemental Absorption.
This skill has a maximum duration of 10s and enters CD once its effects end. The longer Sayu remains in her Windwheel state, the longer the CD. Elemental Absorption If Sayu comes into contact with Hydro/Pyro/Cryo/Electro while in her Windwheel state, she will deal additional elemental DMG of that type. Elemental Absorption may only occur once per use of this skill.
| Ability | LVL1 | LVL2 | LVL3 | LVL4 | LVL5 | LVL6 | LVL7 | LVL8 | LVL9 | LVL10 | LVL11 | LVL12 | LVL13 |
|---|---|---|---|---|---|---|---|---|---|---|---|---|---|
| Fuufuu Windwheel DMG | 36% | 38.7% | 41.4% | 45% | 47.7% | 50.4% | 54% | 57.6% | 61.2% | 64.8% | 68.4% | 72% | 76.5% |
| PressFuufuu Whirlwind Kick DMG | 158.4% | 170.28% | 182.16% | 198% | 209.88% | 221.76% | 237.6% | 253.44% | 269.28% | 285.12% | 300.96% | 316.8% | 336.6% |
| Fuufuu Whirlwind Kick Hold DMG | 217.6% | 233.92% | 250.24% | 272% | 288.32% | 304.64% | 326.4% | 348.16% | 369.92% | 391.68% | 413.44% | 435.2% | 462.4% |
| Fuufuu Windwheel Elemental DMG | 16.8% | 18.06% | 19.32% | 21% | 22.26% | 23.52% | 25.2% | 26.88% | 28.56% | 30.24% | 31.92% | 33.6% | 35.7% |
| Fuufuu Whirlwind Kick Elemental DMG | 76.16% | 81.87% | 87.58% | 95.2% | 100.91% | 106.62% | 114.24% | 121.86% | 129.47% | 137.09% | 144.7% | 152.32% | 161.84% |
| Max Duration (Hold) | 10s | 10s | 10s | 10s | 10s | 10s | 10s | 10s | 10s | 10s | 10s | 10s | 10s |
| CD | 6 to 11s | 6 to 11s | 6 to 11s | 6 to 11s | 6 to 11s | 6 to 11s | 6 to 11s | 6 to 11s | 6 to 11s | 6 to 11s | 6 to 11s | 6 to 11s | 6 to 11s |

Elemental Burst
Yoohoo Art: Mujina Flurry
It summons a pair of helping hands for Sayu. Deals Anemo DMG to nearby opponents and heals all nearby party members.
The amount of HP restored is based on Sayu's ATK. This skill then summons a Muji-Muji Daruma.
Muji-Muji Daruma: At specific intervals, the Daruma will take one of several actions based on the situation around it:
- If the HP of nearby characters is above 70%, it will attack a nearby opponent, dealing Anemo DMG.
- If there are active characters with 70% or less HP nearby, it will heal the active character with the lowest percentage HP left. If there are no opponents nearby, it will heal active characters nearby even if they have 70% HP or more.
| Ability | LVL1 | LVL2 | LVL3 | LVL4 | LVL5 | LVL6 | LVL7 | LVL8 | LVL9 | LVL10 | LVL11 | LVL12 | LVL13 |
|---|---|---|---|---|---|---|---|---|---|---|---|---|---|
| Skill Activation DMG | 116.8% | 125.56% | 134.32% | 146% | 154.76% | 163.52% | 175.2% | 186.88% | 198.56% | 210.24% | 221.92% | 233.6% | 248.2% |
| Skill Activation Healing | 92.16% ATK + 577 | 99.07% ATK + 635 | 105.98% ATK + 698 | 115.2% ATK + 765 | 122.11% ATK + 837 | 129.02% ATK + 914 | 138.24% ATK + 996 | 147.46% ATK + 1083 | 156.67% ATK + 1174 | 165.89% ATK + 1270 | 175.1% ATK + 1371 | 184.32% ATK + 1477 | 195.84% ATK + 1588 |
| Muji-Muji Daruma DMG | 52% | 55.9% | 59.8% | 65% | 68.9% | 72.8% | 78% | 83.2% | 88.4% | 93.6% | 98.8% | 104% | 110.5% |
| Muji-Muji Daruma Healing | 79.87% ATK + 500 | 85.86% ATK + 550 | 91.85% ATK + 605 | 99.84% ATK + 663 | 105.83% ATK + 726 | 111.82% ATK + 792 | 119.81% ATK + 863 | 127.8% ATK + 938 | 135.78% ATK + 1017 | 143.77% ATK + 1101 | 151.76% ATK + 1188 | 159.74% ATK + 1280 | 169.73% ATK + 1376 |
| Duration | 12s | 12s | 12s | 12s | 12s | 12s | 12s | 12s | 12s | 12s | 12s | 12s | 12s |
| CD | 20s | 20s | 20s | 20s | 20s | 20s | 20s | 20s | 20s | 20s | 20s | 20s | 20s |
| Energy Cost | 80 | 80 | 80 | 80 | 80 | 80 | 80 | 80 | 80 | 80 | 80 | 80 | 80 |
►Ascencion requirements
Levelup requirements
-

20000
-
1
- none
-
3
-
3
20
-
40000
-
3
-
2
-
10
-
15
40
-
60000
-
6
-
4
-
20
-

12
50
-
80000
-
3
-
8
-
30
-
18
60
-
100000
-
6
-
12
-
45
-
12
70
-
120000
-
6
-
20
-
60
-
24
80
Talent level up requirements
-
12500
-
3
-
6
1-2
-
17500
-
2
-
3
2-3
-
25000
-
4
-
4
3-4
-
30000
-
6
-
6
4-5
-
37500
-
9
-
9
5-6
-
120000
-
4
-
4
-
1
6-7
-
260000
-
6
-
6
-
1
7-8
-
450000
-
12
-
9
-
2
8-9
-
700000
-
16
-
12
-
2
-

1