

Kokomi

TIER SS Support
TIER S Support
TIER A Support
TIER B Support
TIER C Support
Ascension requirements
-

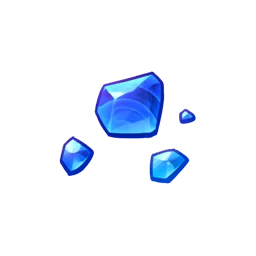
Varunada Lazurite Gemstone
-

Dew of Repudiation
-

Sango Pearl
-

Spectral Nucleus
-

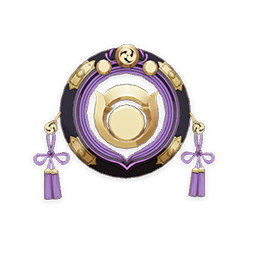
Philosophies of Transience
-

Hellfire Butterfly
Weapons:
-

Everlasting Moonglow
-

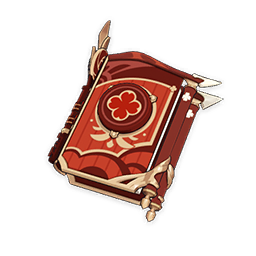
Prototype Amber
-
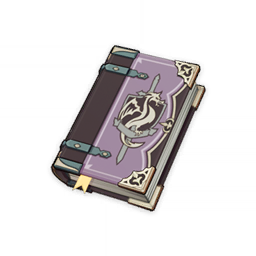
Thrilling Tales of Dragon Slayers
-
Hakushin Ring
-
Dodoco Tales
Best option ←
to
→ Worst option
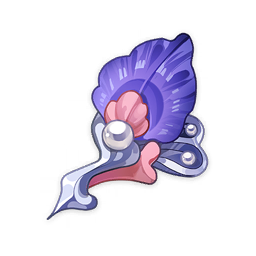
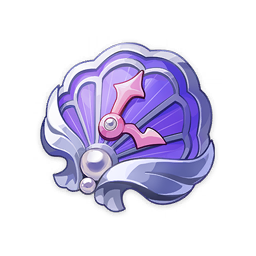
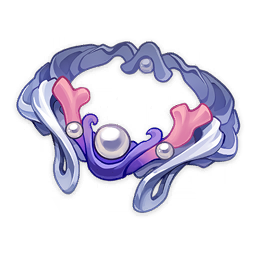
Artifacts Ocean's Gifts:
-

ATK
-
HP
-
HP%
-
HP%
-
Healing Bonus%
HP / Energy Recharge/ ATK / Elemental Mastery
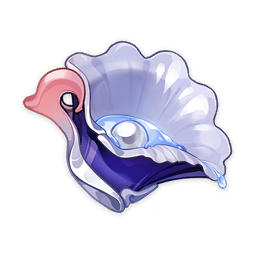
Artifacts Hydro DPS:
-

ATK
-

HP
-

HP%
-

Hydro DMG%
-

Healing Bonus%
HP / Energy Recharge / Attack / Elemental Mastery
►Statistics
Rating:
Stats:
Attribute base 20* 40* 50* 60* 70* 80* 90 MAX HP 1049 3619 6055 7818 9377 10945 12524 13471 ATK 18 63 105 136 163 190 218 234 DEF 51 177 295 381 457 534 611 657 Hydro Damage Bonus% 0% 0% 7.2% 14.4% 14.4% 21.6% 28.8% 28.8%
►Suggested Teammates
-
Ganyu has been itching to get a partner in crime that allows her to fire her powerful charged attacks uncontested, Mona as her only other viable Hydro support partner had some clunkyness to her Hydro application, Kokomi comes to save the day with her incredible Hydro application, and insane support options like ToM and Thrilling Tales, when Ganyu leaves the field for Kokomi to unleash her fury the enemies will still be still stun locked thanks to Ganyus excellent Cryo applicaiton off field.
-
Lisa's incredible elemental burst pairs excellently with Kokomi's great AoE Hydro application capabilities lending themselves to create powerful Electro Charged fields, which will deal consisten damage in a huge AoE while providing some crowd control for their teams.
-
Kokomi is an excellent Elemental Mastery user which will create long lasting AoE Hyro applications for a ton of swirls.
-
Kokomi will fit very well in any version of the national team, given that Hydro is such a powerful and versatile element, given this team's tendency to be composed of many Sub DPS kokomi will fill this team's dead time while she is buffed by her elemental burst creating an elegant, fluid and extremely tanky composition.
-
Electro charged is a beatiful and powerful reaction dealing a lot of damage in AoE, Raiden is on the best Electro enablers while also providing generous ammounts of energy to her teamates, Kokomi doesn't really want to spec too much into energy recharge so Raiden is an excellent fit.
-
Xiao loves to have any team mates with strong heals, Kokomi's heals are effortless and long lasting, this will allow her to be an excellent parter no the greedy Xiao, which will be able to attack without any worries, while gaining a lot more Effective HP than a Max investment Zhongli can provide.
-
Yanfei loves any kind of elemental Aura, and Kokomi's Hydro application is not an exception, their Incredible AoE capabilities will complement each other perfectly, while Kokomi patches Yanfei's below average defensive capabilities.
-
Yoimiya is another character that loves elemental auras, Kokomi's on field and off field gameplay complements Yoimiya's gameplay perfectly forming a strong foundation for any team.


►Summary
Pros:
- All in one Healer, DPS, Elemental Driver, Tank.
- Hydro is one of the best elements and Kokomi applies it plentifully in a big AoE.
Cons:
- Wants to be both a sub DPS and a main DPS making her a little difficult to fit in some compositions.
- Can have some energy issues which will mess her whole rotations.
Building tips:
- Kokomi is a character that can fulfill any role you want her to on your team, this choice will affect which artifact sets will work best on her, Kokomi can make good use of the
 Maiden Beloved x4 or x2
  Tenacity of the Millelith x4 or x2,
  Heart of Depth x4 or x2 and the Ocean Hued Clam set x4, the best options for supporting are the Tenacity of the Millelith and for DPS the Heart of the Depth set.
 - Kokomi doesn't make good use of any Crit stats instead she prefers to have HP, Energy Recharge, Elemental Mastery, Healing Bonus and ATK as her substats.
- Kokomi can make good use of any weapon that gives her her preferred substats. As a support character she has many great and cheap to build options like Thrilling Tales of Dragon Slayers and Prototype Amber.
Gameplay tips:
- Kokomi's talent Tamanooya’s Casket will not truly reset your elemental skill cooldown, only your jellyfish. Make sure to not let her run out before you cast your burst.
- At C0 Kokomi will want to avoid using her third basic attack string(the backflip) as it is very time-consuming by using a dash after her second attack, at C1 this gets flipped on its head and she'll want to dash after firing her third basic attack.
constellations power:
- A tiny bit more damage at only C1, the fish has its own ICD.
- More healing, Kokomi doesn't have any issues with that...
- Elemental Burst Scaling that won't be too noticeable thanks to the way Kokomi's damage works.
- A little bit of ATK speed and ER?, good for Kokomi's constellations standards.
- More levels for your jellyfish.
- Easy to proc 40% Hydro DMG Bonus, strong but not in the level of other strong C6 that increase their owners damage multiplicatively and not additively.
►Constellations.
-

C1
At Water's Edge
While donning the Ceremonial Garment created by Nereid's Ascension, the final Normal Attack in Sangonomiya Kokomi's combo will unleash a swimming fish to deal 30% of her Max HP as Hydro DMG. This DMG is not considered Normal Attack DMG. -

C2
The Clouds Like Waves Rippling
Sangonomiya Kokomi gains the following Healing Bonuses with regard to characters with 50% or less HP via the following methods: • Kurage's Oath Bake-Kurage: 4.5% of Kokomi's Max HP. • Nereid's Ascension Normal and Charged Attacks: 0.6% of Kokomi's Max HP. -

C3
The Moon, A Ship O'er the Seas
Increases the Level of Nereid's Ascension by 3. Maximum upgrade level is 15. -

C4
The Moon Overlooks the Waters
While donning the Ceremonial Garment created by Nereid's Ascension, Sangonomiya Kokomi's Normal Attack SPD is increased by 10%, and Normal Attacks that hit opponents will restore 0.8 Energy for her. This effect can occur once every 0.2s. -

C5
All Streams Flow to the Sea
Increases the Level of Kurage's Oath by 3. Maximum upgrade level is 15. -

C6
Sango Isshin
While donning the Ceremonial Garment created by Nereid's Ascension, Sangonomiya Kokomi gains a 40% Hydro DMG Bonus for 4s after her Normal and Charged Attacks heal a character with 80% or more HP.
► Talents

Passive Talent 1
Tamanooya's Casket

Passive Talent 2
Song of Pearls

Passive Talent 3
Princess of Watatsumi

Passive Talent 4
Flawless Strategy

Basic attack
Normal Attack: The Shape of Water
| Ability | LVL1 | LVL2 | LVL3 | LVL4 | LVL5 | LVL6 | LVL7 | LVL8 | LVL9 | LVL10 | LVL11 |
|---|---|---|---|---|---|---|---|---|---|---|---|
| 1-Hit DMG | 68.38% | 73.5% | 78.63% | 85.47% | 90.6% | 95.73% | 102.56% | 109.4% | 116.24% | 123.08% | 129.91% |
| 2-Hit DMG | 61.54% | 66.15% | 70.77% | 76.92% | 81.54% | 86.15% | 92.31% | 98.46% | 104.62% | 110.77% | 116.92% |
| 3-Hit DMG | 94.31% | 101.38% | 108.45% | 117.88% | 124.95% | 132.03% | 141.46% | 150.89% | 160.32% | 169.75% | 179.18% |
| Charged Attack DMG | 148.32% | 159.44% | 170.57% | 185.4% | 196.52% | 207.65% | 222.48% | 237.31% | 252.14% | 266.98% | 281.81% |
| Charged Attack Stamina Cost | 50 | 50 | 50 | 50 | 50 | 50 | 50 | 50 | 50 | 50 | 50 |
| Plunge DMG | 56.83% | 61.45% | 66.08% | 72.69% | 77.31% | 82.6% | 89.87% | 97.14% | 104.41% | 112.34% | 120.27% |
| Low/High Plunge DMG | 113.63% / 141.93% | 122.88% / 153.49% | 132.13% / 165.04% | 145.35% / 181.54% | 154.59% / 193.1% | 165.17% / 206.3% | 179.7% / 224.45% | 194.23% / 242.61% | 208.77% / 260.76% | 224.62% / 280.57% | 240.48% / 300.37% |

Elemental skill
Kurage's Oath
| Ability | LVL1 | LVL2 | LVL3 | LVL4 | LVL5 | LVL6 | LVL7 | LVL8 | LVL9 | LVL10 | LVL11 | LVL12 | LVL13 |
|---|---|---|---|---|---|---|---|---|---|---|---|---|---|
| Regeneration | 4.4% Max HP+ 424 | 4.73% Max HP+ 466 | 5.06% Max HP+ 512 | 5.5% Max HP+ 561 | 5.83% Max HP+ 614 | 6.16% Max HP+ 671 | 6.6% Max HP+ 731 | 7.04% Max HP+ 795 | 7.48% Max HP+ 862 | 7.92% Max HP+ 932 | 8.36% Max HP+ 1006 | 8.8% Max HP+ 1084 | 9.35% Max HP+ 1165 |
| Ripple DMG | 109.19% | 117.38% | 125.57% | 136.49% | 144.68% | 152.87% | 163.79% | 174.7% | 185.62% | 196.54% | 207.46% | 218.38% | 232.03% |
| Duration | 12 s | 12 s | 12 s | 12 s | 12 s | 12 s | 12 s | 12 s | 12 s | 12 s | 12 s | 12 s | 12 s |
| CD | 20 s | 20 s | 20 s | 20 s | 20 s | 20 s | 20 s | 20 s | 20 s | 20 s | 20 s | 20 s | 20 s |

Elemental Burst
Nereid's Ascension
| Ability | LVL1 | LVL2 | LVL3 | LVL4 | LVL5 | LVL6 | LVL7 | LVL8 | LVL9 | LVL10 | LVL11 | LVL12 | LVL13 |
|---|---|---|---|---|---|---|---|---|---|---|---|---|---|
| Skill DMG | 10.42% Max HP | 11.2% Max HP | 11.98% Max HP | 13.02% Max HP | 13.8% Max HP | 14.58% Max HP | 15.62% Max HP | 16.67% Max HP | 17.71% Max HP | 18.75% Max HP | 19.79% Max HP | 20.83% Max HP | 22.13% Max HP |
| Normal Attack DMG Bonus | 4.84% Max HP | 5.2% Max HP | 5.57% Max HP | 6.05% Max HP | 6.41% Max HP | 6.78% Max HP | 7.26% Max HP | 7.74% Max HP | 8.23% Max HP | 8.71% Max HP | 9.2% Max HP | 9.68% Max HP | 10.29% Max HP |
| Charged Attack DMG Bonus | 6.78% Max HP | 7.28% Max HP | 7.79% Max HP | 8.47% Max HP | 8.98% Max HP | 9.49% Max HP | 10.16% Max HP | 10.84% Max HP | 11.52% Max HP | 12.2% Max HP | 12.87% Max HP | 13.55% Max HP | 14.4% Max HP |
| Bake-Kurage DMG Bonus | 7.1% Max HP | 7.63% Max HP | 8.16% Max HP | 8.87% Max HP | 9.4% Max HP | 9.93% Max HP | 10.64% Max HP | 11.35% Max HP | 12.06% Max HP | 12.77% Max HP | 13.48% Max HP | 14.19% Max HP | 15.08% Max HP |
| HP Regeneration Per Hit | 0.81% Max HP+ 77 | 0.87% Max HP+ 85 | 0.93% Max HP+ 93 | 1.01% Max HP+ 102 | 1.07% Max HP+ 112 | 1.13% Max HP+ 122 | 1.21% Max HP+ 133 | 1.29% Max HP+ 144 | 1.37% Max HP+ 157 | 1.45% Max HP+ 169 | 1.54% Max HP+ 183 | 1.62% Max HP+ 197 | 1.72% Max HP+ 212 |
| Duration | 10 s | 10 s | 10 s | 10 s | 10 s | 10 s | 10 s | 10 s | 10 s | 10 s | 10 s | 10 s | 10 s |
| CD | 18 s | 18 s | 18 s | 18 s | 18 s | 18 s | 18 s | 18 s | 18 s | 18 s | 18 s | 18 s | 18 s |
| Energy Cost | 70 | 70 | 70 | 70 | 70 | 70 | 70 | 70 | 70 | 70 | 70 | 70 | 70 |
►Ascencion requirements
Levelup requirements
-

20000
-
1
- none
-
3
-

3
20
-
40000
-

3
-
2
-
10
-
15
40
-
60000
-
6
-
4
-
20
-

12
50
-
80000
-
3
-
8
-
30
-
18
60
-
100000
-
6
-
12
-
45
-
12
70
-
120000
-
6
-
20
-
60
-
24
80
Talent level up requirements
-
12500
-

3
-
6
1-2
-
17500
-

2
-
3
2-3
-
25000
-
4
-
4
3-4
-
30000
-
6
-
6
4-5
-
37500
-
9
-
9
5-6
-
120000
-
4
-
4
-
1
6-7
-
260000
-
6
-
6
-
1
7-8
-
450000
-
12
-
9
-
2
8-9
-
700000
-
16
-
12
-
2
-

1